Free Online Image Tools: The Complete Image Editing & Conversion Guide
Convert, compress, resize, crop, rotate and merge images with free online image tools — instant, private and no installs. Find the right tool for every image task.
Free Online Image Tools: The Complete Image Editing & Conversion Guide
Free online image tools let you convert, shrink, resize, crop, rotate, and combine pictures in seconds — without Photoshop, without a subscription, and without uploading your photos to a stranger's server. Whether you need to turn a JPG into a PNG, squeeze a photo under a 2 MB upload limit, crop a headshot to a perfect square, or bundle a stack of receipts into a single PDF, there is a dedicated tool for the job. This pillar guide maps every image task to the right free tool on ShreePrati, explains the formats and settings behind each one, and shows you how to pick the correct tool every time. You can jump straight in and browse every image tool, or read on for the full walkthrough.
TL;DR — Key Takeaways
- Everything runs in your browser. Every image tool here processes files locally with JavaScript, so your photos never leave your device.
- Convert between every common format. Move freely between JPG, PNG, and WEBP in either direction, with transparency and background handling done for you.
- Make files smaller two ways. Use the image compressor for a quality slider, or reduce image size to hit an exact target in KB or MB.
- Adjust dimensions and framing. Resize by pixels or percentage, crop to a fixed ratio, and rotate or flip with a live preview.
- Combine and repackage images. Turn pictures into a PDF or merge several images into one.
- Inspect without uploading. The image metadata viewer reveals dimensions, type, size, and camera EXIF data privately.
- Free, private, and no sign-up. No accounts, no watermarks, no waiting in a queue.
Table of Contents
- What are online image tools?
- Why use browser-based image tools?
- Understanding image formats: JPG, PNG, and WEBP
- Image format converters
- Compressing and reducing file size
- Resizing, cropping, and rotating
- Combining and repackaging images
- Inspecting image metadata
- Which image tool should you use? A quick reference table
- Step-by-step: three common image tasks
- Best practices for working with images
- Related guides
- Frequently asked questions
- Conclusion
What are online image tools?
Online image tools are small, single-purpose web apps that each perform one operation on a picture — converting its format, shrinking its file size, changing its dimensions, or reading its hidden data. Instead of launching a heavyweight editor and hunting through menus, you open a page, drop in your image, adjust a setting or two, and download the result.
The reason these exist as separate tools is that "editing an image" is really a dozen unrelated jobs. Changing a JPG to a PNG has nothing in common with cropping a photo to a square, and squeezing a file under an upload limit is different again from rotating a scan the right way up. A focused tool does one of those jobs well, with exactly the controls that job needs and nothing to distract you.
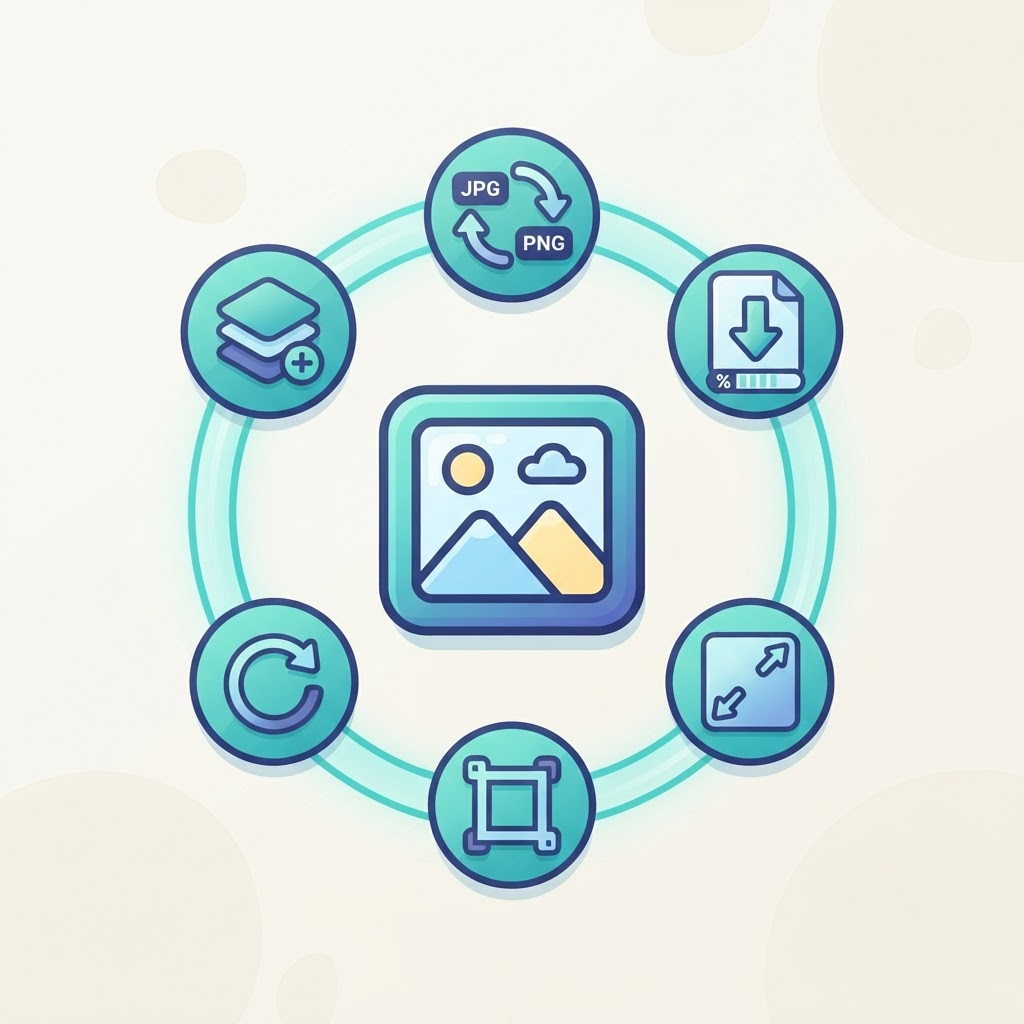
On ShreePrati, the full collection lives on the image tools hub, and the tools fall into a few practical groups:
- Format converters that move images between JPG, PNG, and WEBP.
- Size tools that compress images or reduce them to a target file size.
- Dimension tools that resize, crop, and rotate.
- Combining tools that turn images into a PDF or merge them into one.
- Inspection tools that reveal an image's metadata and EXIF data.
The rest of this guide walks through each group and points you to the exact tool for every task.
Why use browser-based image tools?
Uploading a photo to a random website to "convert it online" is convenient, but a browser-based tool that processes files locally is better in every way that matters.
Privacy by default
Every image tool here runs entirely inside your browser using JavaScript and the HTML canvas. Nothing you open — a private photo, a scanned document, a screenshot with sensitive details — is uploaded to a server. That is faster, works offline once the page has loaded, and keeps your images on your device.
No accounts, watermarks, or queues
Because there is no server doing the work, there is nothing to sign up for and no paid tier gating the good features. You will never get a watermarked download or be told to wait while your file sits in a processing queue.
Instant results
Local processing means the moment you drop in a file and pick your settings, the result is ready. For tools like the image compressor you even get a live size estimate as you drag the quality slider, so you can find the sweet spot without repeatedly downloading and checking.
Understanding image formats: JPG, PNG, and WEBP
Most image tasks start with a format decision, so it helps to know what the three common formats are good at.
- JPG (JPEG) uses lossy compression that discards detail the eye is unlikely to miss. It produces small files and is perfect for photographs, but it does not support transparency and degrades slightly each time it is re-saved.
- PNG uses lossless compression, so it keeps every pixel exactly. It supports full transparency, which makes it ideal for logos, icons, screenshots, and graphics with sharp edges — at the cost of larger files for photos.
- WEBP is a modern format that does both jobs well: it compresses photos smaller than JPG at the same quality and supports transparency like PNG. Its only real drawback is that a few older programs still cannot open it.
A simple rule of thumb: use JPG for photos you are sharing widely, PNG when you need transparency or crisp text and lines, and WEBP when you want the smallest possible file for the web and know your audience uses modern software. When something cannot open a WEBP, convert it to JPG or to PNG and it will open everywhere.
Image format converters
ShreePrati covers every direction between the three common formats, so you never hit a dead end.
- JPG to PNG — convert a photo to lossless PNG, useful when you need to edit it further without quality loss or add transparency.
- PNG to JPG — compress a PNG into a smaller JPG, with a background-colour option so transparent areas do not turn black.
- JPG to WEBP — shrink a JPG into a modern WEBP at the same visual quality.
- PNG to WEBP — turn a large PNG into a much smaller WEBP while keeping transparency.
- WEBP to JPG — convert a WEBP so it opens in any program, with a background option for transparent images.
- WEBP to PNG — convert a WEBP to lossless PNG, preserving full transparency.
Every converter works the same way: drop in the image, and the converted file is ready to download instantly. Because these are also cross-listed on the converters hub, you will find them alongside unit and date converters if that is where you started.
Compressing and reducing file size
Two different problems both come down to "make this file smaller," and ShreePrati has a dedicated tool for each.
When you want the best quality for a given size
The image compressor gives you a quality slider and a live estimate of the resulting file size as you drag it. This is the tool to reach for when you want to shrink a photo as much as possible while keeping it looking good — you can watch quality and size trade off in real time and stop at the point that looks right to your eye. It works on JPG, PNG, and WEBP.
When you must hit an exact limit
Upload forms often impose hard limits — "photo must be under 500 KB" or "attachment max 2 MB." For those, use reduce image size, which lets you type a target file size in KB or MB and does the work of getting there. Instead of guessing at a quality percentage, you name the size you need and download a file that fits.
Resizing, cropping, and rotating
These three tools change an image's dimensions and framing rather than its format or file size.
- Resize image changes the pixel dimensions of a picture. You can resize by exact pixels or by percentage, lock the aspect ratio so nothing stretches, and use presets sized for common social-media images. Reach for it when a photo is far larger than it needs to be, or when a form asks for a specific width and height.
- Crop image trims away the parts you do not want. You drag a selection box over the image and can crop freely or lock to a fixed ratio such as 1:1 for a profile picture, 4:3, or 16:9 for a banner. It is the fastest way to turn a wide snapshot into a tidy square headshot.
- Rotate image fixes orientation. Rotate left or right in 90° steps, flip 180° for an upside-down scan, or mirror horizontally and vertically — all with a live preview so you can confirm before downloading.
A common workflow is to crop first to get the framing right, then resize the cropped result down to the dimensions you actually need.
Combining and repackaging images
Sometimes the goal is not to edit a single image but to package several together.
- Image to PDF turns one or more images into a single PDF document, with controls for page size, orientation, margins, and how each image fits the page. It is ideal for combining photos of receipts, ID cards, or handwritten notes into one file to email or print. Because it is cross-listed with the PDF tools, you can continue working on the result there.
- Merge images combines several pictures into one image, stacked vertically, side by side horizontally, or arranged in a grid. Use it to build a simple collage, place before-and-after shots next to each other, or stitch a long screenshot together.
Inspecting image metadata
Not every task changes an image — sometimes you just need to know what you are looking at. The image metadata viewer reads a file's dimensions, format, and size, along with any EXIF data the camera embedded, such as the make and model, the date the photo was taken, and camera settings. Because it runs in your browser, you can inspect a private photo's details without uploading it anywhere. It is handy for checking whether an image is large enough for print, confirming when a photo was taken, or simply understanding a file before you edit it.
Which image tool should you use? A quick reference table
| If you need to… | Use this tool |
|---|---|
| Turn a JPG into a lossless PNG | JPG to PNG |
| Turn a PNG into a smaller JPG | PNG to JPG |
| Shrink a JPG using WEBP | JPG to WEBP |
| Shrink a PNG using WEBP | PNG to WEBP |
| Make a WEBP open everywhere | WEBP to JPG or WEBP to PNG |
| Shrink a file with a quality slider | Image compressor |
| Hit an exact KB or MB limit | Reduce image size |
| Change width and height | Resize image |
| Trim to a square or fixed ratio | Crop image |
| Fix a sideways or flipped photo | Rotate image |
| Combine images into one PDF | Image to PDF |
| Stitch images into one picture | Merge images |
| See dimensions and EXIF data | Image metadata viewer |
Step-by-step: three common image tasks
1. Getting a photo under an upload limit
Say a job portal will only accept a profile photo under 200 KB.
- Open reduce image size.
- Drop in your photo.
- Enter 200 KB as the target size.
- Download the result and upload it — it will fit the first time.
If you would rather balance quality by eye, use the image compressor instead and watch the live size estimate as you drag the slider.
2. Making a square profile picture
- Open crop image.
- Drop in your photo and choose the 1:1 ratio preset.
- Drag the selection over the part of the image you want to keep.
- Crop and download.
- If the file is still large, pass it through resize image to bring it down to, say, 512×512 pixels.
3. Turning receipts into one PDF
- Open image to PDF.
- Add each receipt photo in the order you want them.
- Choose the page size, orientation, and margins.
- Download a single PDF ready to email or archive.
Best practices for working with images
- Keep an untouched original. Editing is one-way — always work from a copy so you can start over if a crop or compression goes too far.
- Resize before you compress. If an image is far bigger than it needs to be, resizing it down first removes far more weight than compression alone, with no visible loss.
- Choose the format for the job. Photos belong in JPG or WEBP; logos, screenshots, and anything with transparency or sharp text belong in PNG.
- Avoid re-saving JPGs repeatedly. Each JPG save discards a little more detail. If you will edit an image several times, work in PNG and export to JPG only at the end.
- Crop first, resize second. Getting the framing right before scaling avoids wasting pixels on parts you will throw away.
- Mind transparency when leaving PNG. Converting a transparent PNG to JPG fills the transparent areas — set the background colour deliberately rather than letting it default.
Related guides
- The complete guide to free online converters — covers unit, date, and format conversion, including the image converters featured here.
- The complete guide to free online PDF tools — the natural next step once you have turned images into a PDF with image to PDF.
- Browse every image tool — the full hub, always up to date as new tools are added.
Frequently asked questions
Are these image tools really free?
Yes. Every tool on the image tools hub is free to use with no account, no watermark, and no paid tier. Because the work happens in your browser, there is no server cost to pass on.
Do my images get uploaded anywhere?
No. All processing happens locally in your browser using JavaScript and the HTML canvas. Your images never leave your device, which is why the tools also work offline once the page has loaded.
What is the difference between the image compressor and reduce image size?
The image compressor gives you a quality slider with a live size estimate — ideal when you want the best-looking result for a rough size. Reduce image size lets you name an exact target in KB or MB — ideal when a form imposes a hard limit.
Which format should I convert my images to?
Use JPG for photos you share widely, PNG when you need transparency or crisp text and lines, and WEBP when you want the smallest web-ready file and your audience uses modern software. See understanding image formats above for the full rundown.
Will converting a transparent PNG to JPG ruin it?
JPG does not support transparency, so transparent areas are filled with a background colour. The PNG to JPG tool lets you choose that colour so the result looks the way you expect rather than defaulting to black.
Can I put several photos into one file?
Yes. Use image to PDF to combine images into a single PDF document, or merge images to stitch them into one picture as a stack or grid.
Do the tools change my original file?
No. You download a new file each time; the original on your device is left untouched. It is still good practice to keep a backup before editing.
Conclusion
From swapping formats to squeezing files under an upload limit, cropping the perfect square, or bundling a stack of photos into a PDF, ShreePrati has a focused, private, browser-based tool for every image task. Nothing uploads, nothing costs money, and nothing gets watermarked. Bookmark the image tools hub so the right tool is always one click away, and when your task crosses over into unit conversion or PDF work, the converters guide and PDF tools guide pick up where this one leaves off.