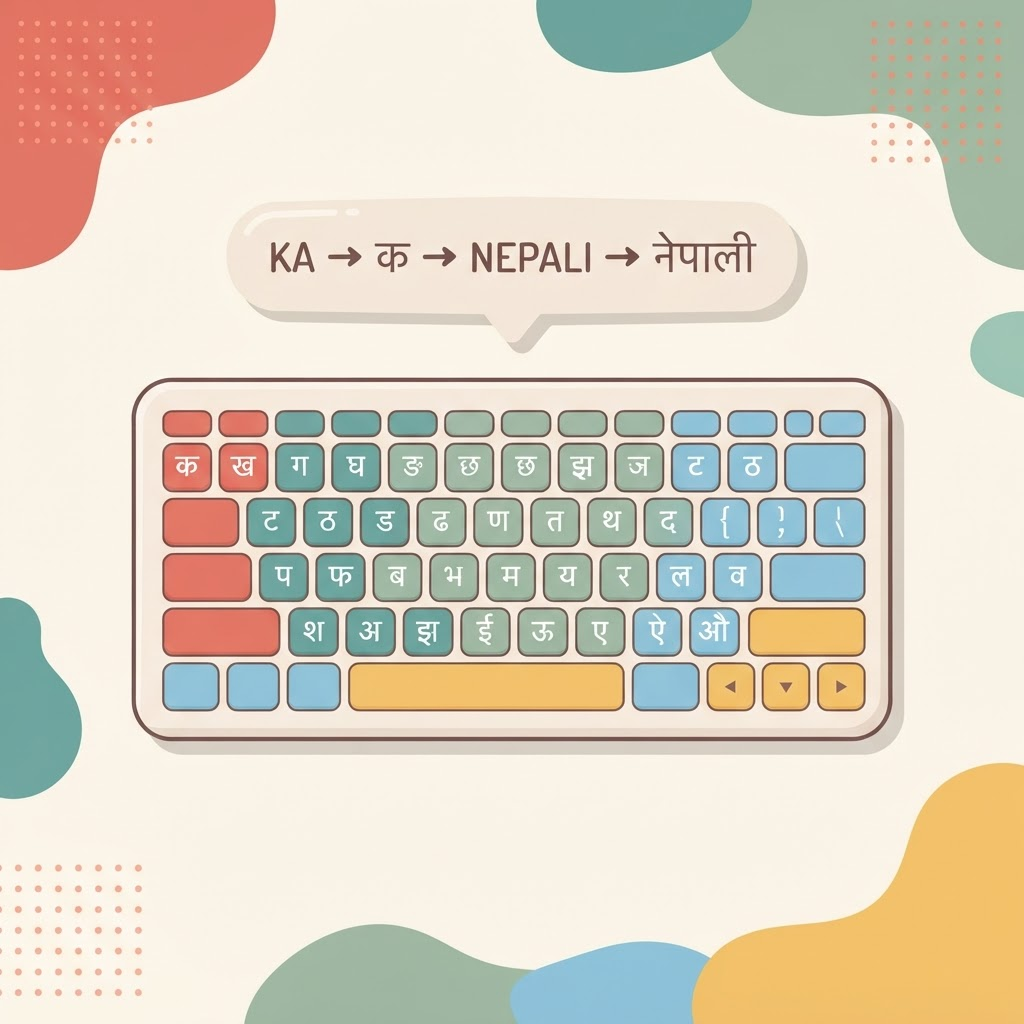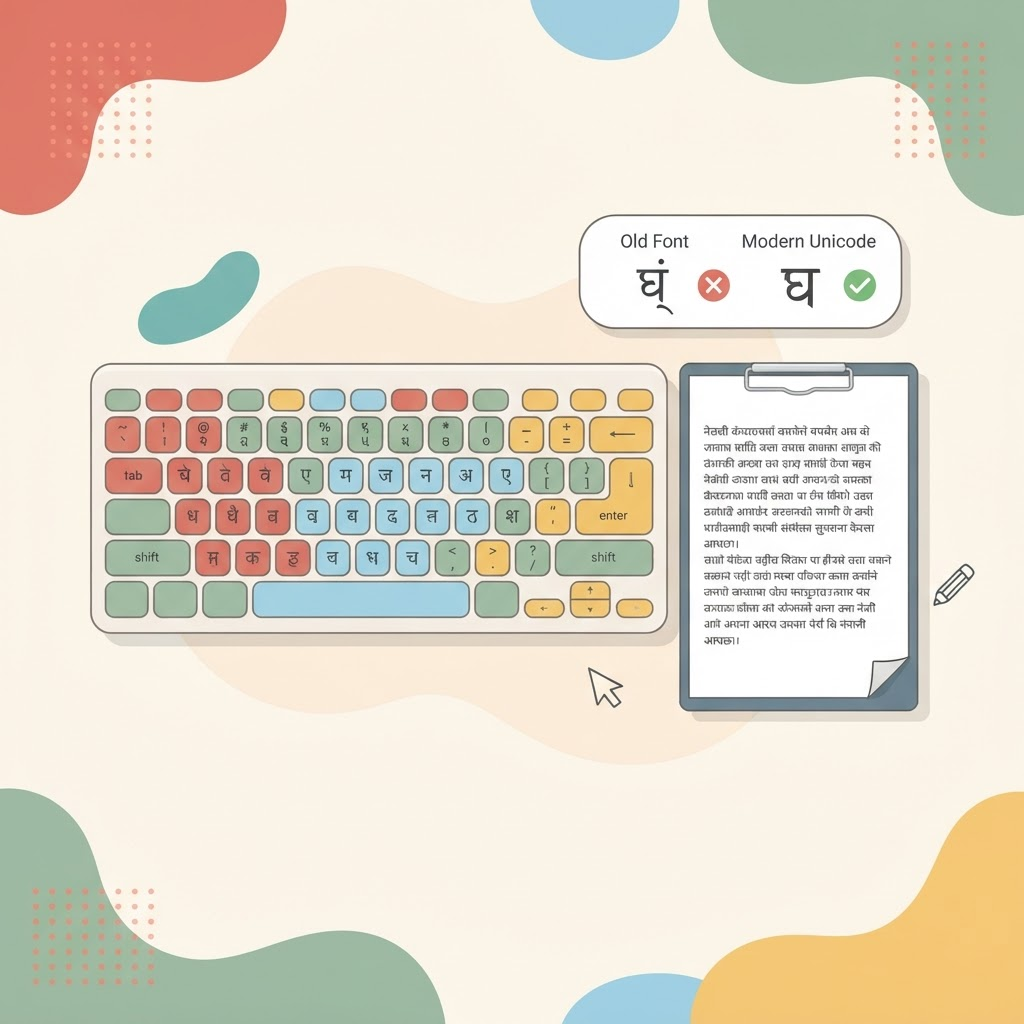
Nepali typing lessons
The Traditional Nepali keyboard looks intimidating at first — dozens of Devanagari characters where the English letters used to be. Structured lessons make it manageable by teaching the layout in small groups, so your fingers learn one set of keys at a time instead of the whole board at once.
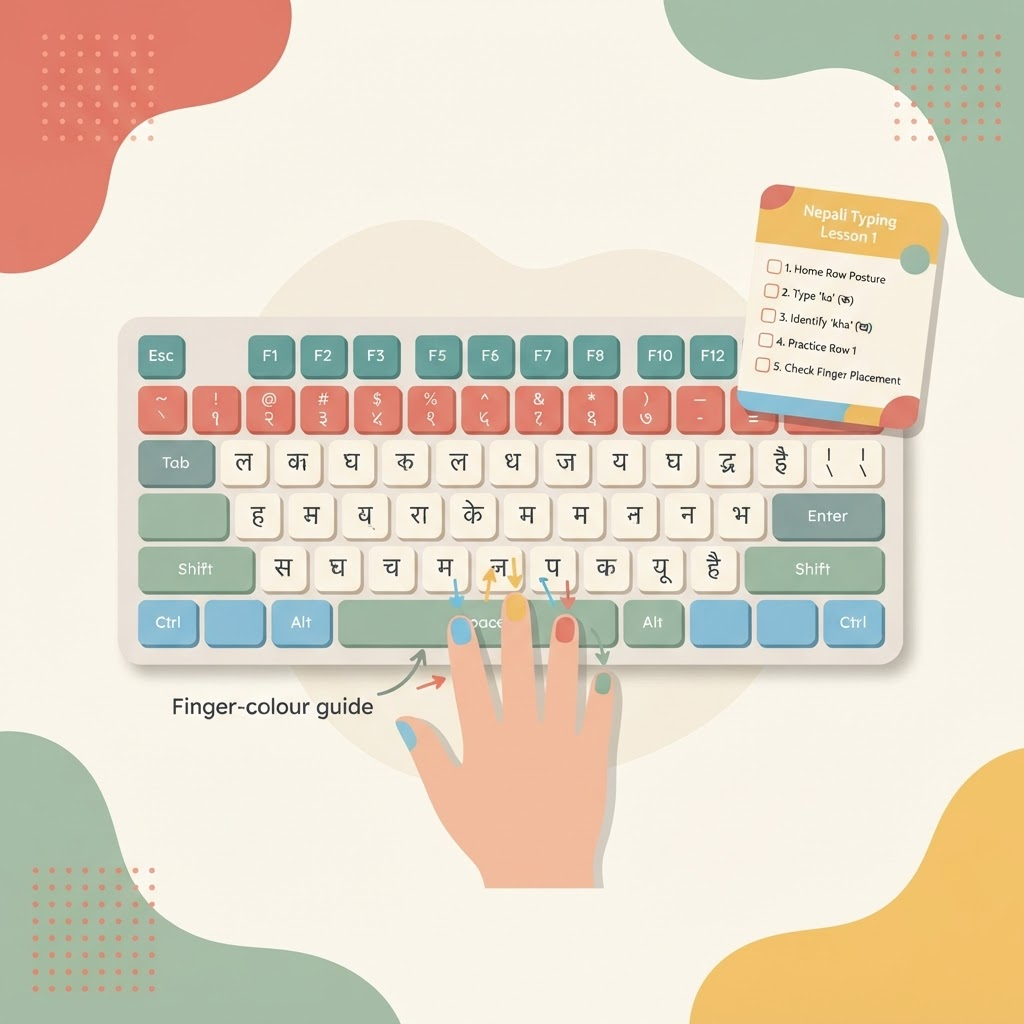
Nepali typing lessons teach the Traditional Devanagari (Unicode) layout the way you would learn any keyboard — group by group, from an anchor position outward. Rather than memorising where all the characters live, you learn each one as a movement your fingers own. Start free on the Nepali typing lessons page, and use this guide to understand the order and get the most from each session.
Why learn the Traditional layout at all?
Romanized input is easier to start with, but it always includes a guessing step — you type the sound and pick the right suggestion. The Traditional layout removes that step entirely: once your fingers know where each character lives, you touch type Nepali directly. For anyone who types Nepali often, or for exams and work, that is far faster in the long run. The trade-offs between the two are covered in our guide to typing in Nepali.
How the lessons are ordered
- Home row and first consonant groups (क वर्ग). Your anchor keys and the most common consonants come first.
- Remaining consonant groups. Added a group at a time, each building on the last so you are never overwhelmed.
- Vowels and matras (vowel signs). How the vowel marks attach to consonants — the part that makes Devanagari different from Latin typing.
- Conjuncts and special characters. Common joined letters, the halanta, numbers and punctuation, once the basics are automatic.
What the guided keyboard shows you
Each lesson runs with an on-screen Devanagari keyboard that highlights the next character to type and colours it by which finger should press it. Follow the colours rather than your instinct, and keep your eyes on the screen — the highlight replaces the need to look down at your hands. This is what rewires your fingers to the Nepali layout correctly.
How to practise a lesson well
- Go slowly for accuracy. Clean repetition becomes speed on its own; rushing just embeds mistakes.
- Return to the home keys between characters so your fingers never lose their place.
- Repeat before advancing. Redo a group until it feels comfortable rather than racing to unlock the next one.
- Practise daily in short sessions. Fifteen focused minutes a day beats a long weekly grind for building muscle memory.
What comes after the lessons
Once the groups feel automatic, move from isolated characters to real text with Nepali typing practice, check your progress with a Nepali typing test, and keep the habit enjoyable with Nepali typing games. The full roadmap — layout, lessons, practice, tests and games in order — is in our complete guide to Nepali typing practice.
Frequently asked questions
Do I need a Nepali keyboard to do the lessons?
No. The lessons use an on-screen Devanagari layout that works on any normal English keyboard, so there is no hardware to buy or relabel.
How long until I can type Nepali words?
Most beginners can type common words without hunting within a week or two of daily practice. Add a new consonant group each day and practise real words as soon as you know a few groups.
Should I learn romanized typing instead?
Romanized input is great for occasional writing and for sending a message today. If you type Nepali often, the lessons on the Traditional layout are worth the investment. Many people use both — see Nepali Unicode typing explained.
What are matras, and why do they matter?
Matras are the vowel signs that attach to consonants (for example, the sign that turns क into का). They are a core part of Devanagari and the lessons introduce them once your consonants are solid.
Start your first lesson
The best time to begin is now, on the first consonant group. Open the Nepali typing lessons, take the first group slowly, and let the guided keyboard show you the way. A little every day is all it takes.