English typing practice: the complete guide
Fast, accurate typing is one of the highest-return skills you can learn: an hour a day for a few weeks can double your speed and stay with you for life. This is a complete, free course you can follow entirely in your browser — from sitting correctly and finding the home row to structured lessons, daily drills, WPM tests and games that make practice stick.
Almost everything you do on a computer runs through the keyboard — messages, emails, essays, code, forms, notes. Yet most people never actually learn to type; they teach themselves a two-finger, eyes-on-the-keys style that plateaus early and never improves. Learning to touch type — typing without looking, using all ten fingers — is the single most valuable computer skill you can pick up, and it is completely learnable at any age with the right practice.
This guide is a full course. It follows the order you should actually learn in, explains the technique behind each step, and links you to the free English typing practice tools for each stage so you can start immediately. Work through it in sequence, practise a little every day, and give it a few weeks.
What “good typing” actually means
Before you practise, it helps to know what you are aiming for. Good typing is measured on two axes:
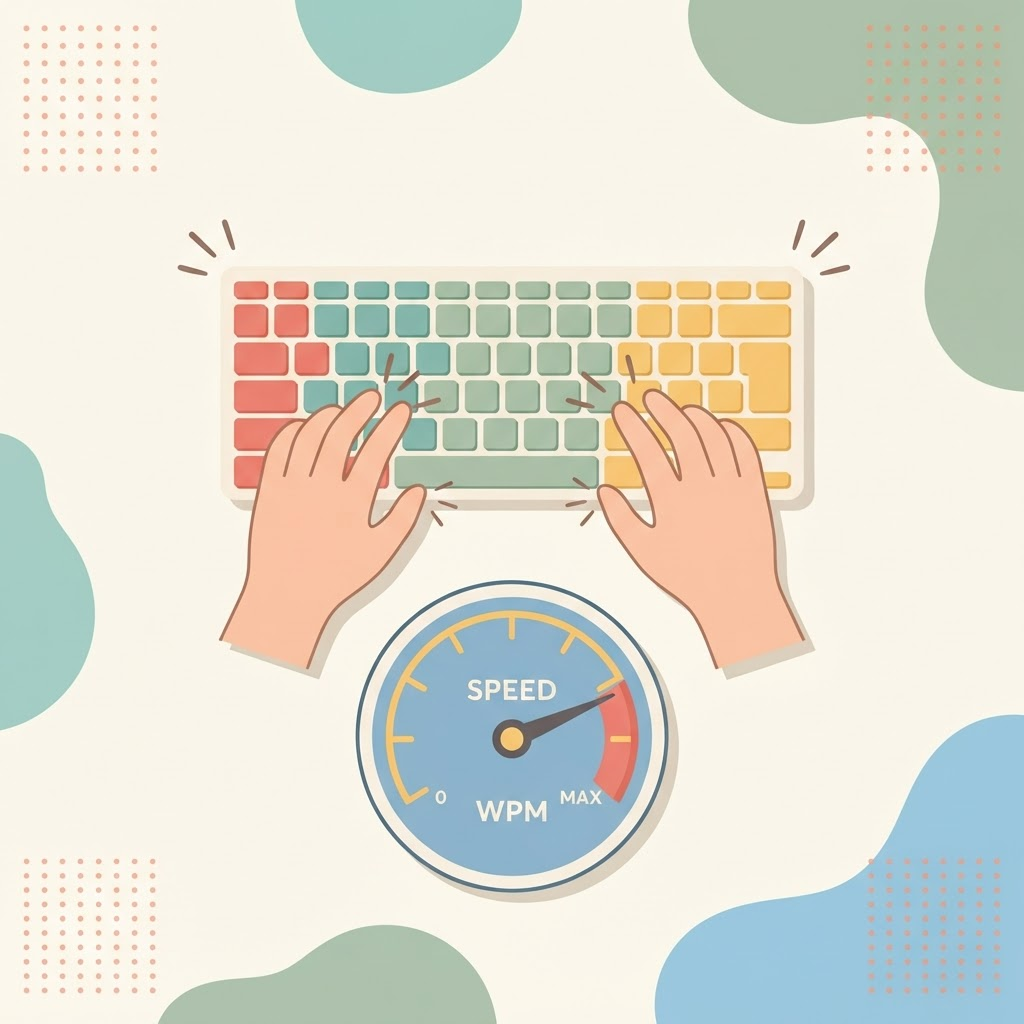
- Speed, measured in words per minute (WPM), where a “word” is standardised as five characters. Around 40 WPM is a comfortable working speed, 60–70 WPM is genuinely fast, and professional typists reach 80–100+.
- Accuracy, the percentage of characters you type correctly. This matters more than raw speed: every mistake costs you the time to notice it, delete it and retype it, so a slower typist with 98% accuracy often out-produces a faster one at 90%.
The goal is not to type frantically. It is to type cleanly and let speed follow — which is exactly how the stages below are ordered.
Stage 1: Posture and hand position
Technique starts before you press a single key. Comfortable, sustainable posture prevents strain and makes every other step easier.
- Sit up straight with both feet flat on the floor and your back supported. Your screen should be roughly at eye level so you are not hunching.
- Float your wrists just above the keyboard rather than resting them on the desk. Resting your wrists forces your fingers to stretch and is a common cause of strain.
- Keep your fingers curved and relaxed, striking keys with the pads of your fingertips.
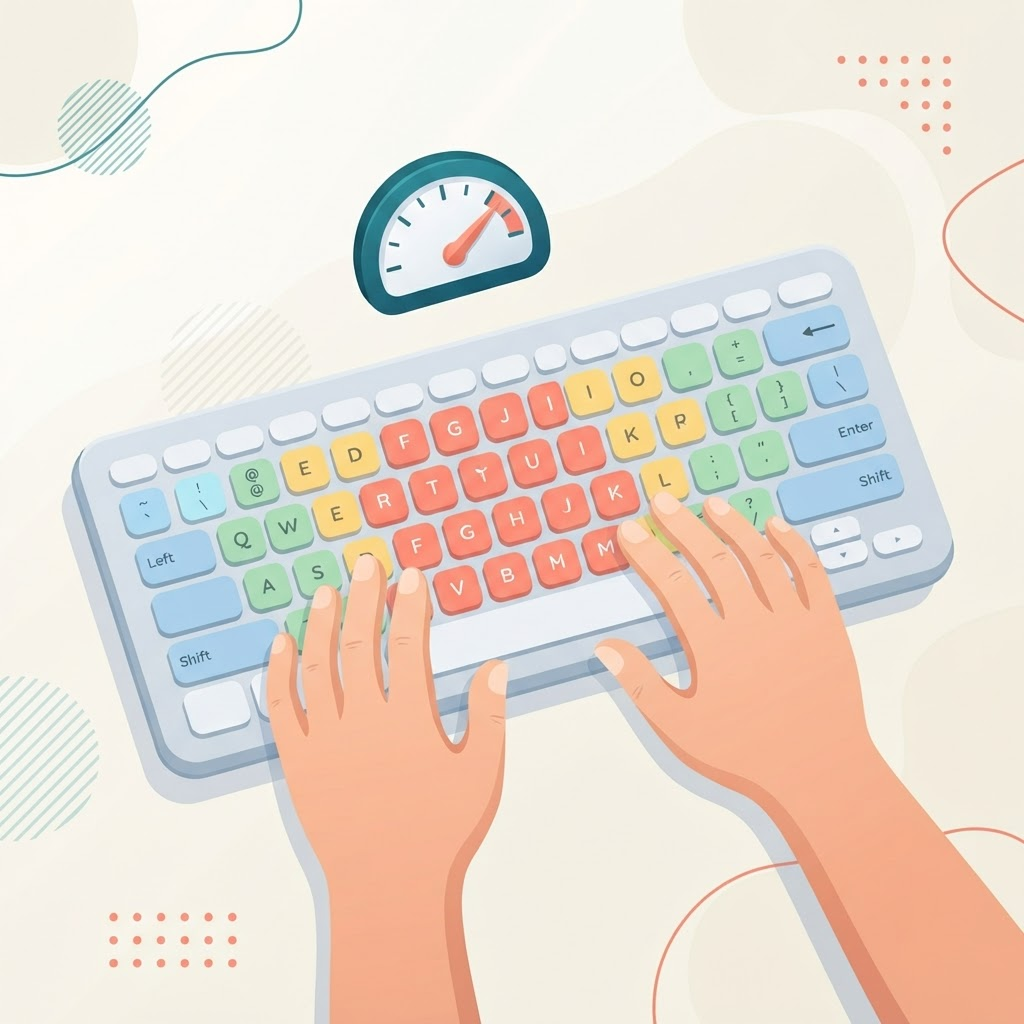
- Find the home row by feel. Place your left fingers on A, S, D, F and your right fingers on J, K, L and the semicolon. The F and J keys have small raised bumps — feel for them so you can return to home position without ever looking down.
Stage 2: Master the home row
The home row is the anchor of touch typing. Every other key is learned as a movement away from home and back again, so your fingers always know where they are. Do not try to learn the whole keyboard at once — that is the mistake that makes people give up.
Start with the guided English typing lessons, which begin with the home row and introduce keys gradually. The on-screen keyboard highlights the next key, and the finger colours tell you which finger to use, so you build the correct habits from the first minute. Stay on the home-row lessons until you can type those keys without hunting for them, even if it feels slow. Slow and correct now means fast and correct later.
Stage 3: Add the top and bottom rows
Once the home row is automatic, extend upward to the top row (Q–P) and downward to the bottom row (Z–M). The key skill here is reach and return: your finger leaves its home key, taps the target, and comes straight back. This is what lets you keep your bearings without looking. Continue through the lessons in order — they introduce these rows one finger-group at a time so you are always building on what you already know rather than being overwhelmed.
Resist the temptation to peek at the keyboard. Glance down only when you are genuinely lost, then get your eyes back on the screen. Every time you look, you interrupt the muscle memory you are trying to build.
Stage 4: Type real words and sentences
Isolated letters build finger position, but real writing is made of words, capitals, punctuation and spaces. This is where typing practice comes in — it moves you from drills to actual English text, with exercises that get gradually harder so you are always slightly challenged but rarely stuck.
Pay attention to a few things at this stage: use the correct thumb for the space bar, reach for capital letters with the opposite hand's Shift key (left Shift for right-hand letters and vice versa), and keep a steady rhythm. Even, metronome-like keystrokes are faster and more accurate than bursts of speed followed by mistakes. Smoothness beats bursts every time.
Stage 5: Build speed and measure it
When you can type sentences without hunting for keys, it is time to push your pace and track your progress. Take a short typing test to measure your WPM and accuracy. Testing regularly does two things: it shows you concrete improvement, which is hugely motivating, and it reveals your specific weak spots — the letters, digraphs or reaches that consistently slow you down.
Use those results to steer your practice. If numbers and symbols are your weakness, drill those; if a particular finger keeps mistyping, slow that movement down until it is clean. Beating your own previous score is the best motivator there is, and it keeps practice from feeling like a chore.
Stage 6: Keep it fun with typing games
The biggest predictor of success is simply showing up every day, and nothing kills a daily habit faster than boredom. When a plain drill starts to feel like a slog, switch to the typing games. Games disguise repetition as play — you keep practising the same movements, but because you are focused on the game rather than the mechanics, your fingers relax and your natural speed comes out. Alternating drills and games keeps practice sustainable over the weeks it takes to build real skill.
A realistic daily practice routine
Consistency beats intensity. Fifteen to twenty focused minutes every day will take you further than a two-hour session once a week, because muscle memory is built through frequent repetition. Here is a routine that works:
- 2–3 minutes warm-up: a home-row lesson to reset your hand position and technique.
- 8–10 minutes focused practice: real-text practice at a pace where you make very few mistakes. If you are making errors, slow down.
- 2–3 minutes measurement: a quick typing test once or twice a week to track WPM and accuracy.
- 3–5 minutes fun: a typing game to end on a high note and keep the habit enjoyable.
The golden rules, collected
- Accuracy before speed. Clean typing becomes fast typing on its own.
- Do not look down. Trust your fingers; glance only when truly lost.
- Return to home. After every reach, bring your fingers straight back to the home row.
- Keep a steady rhythm. Even keystrokes beat frantic bursts.
- Practise a little every day. Frequency builds muscle memory; marathons do not.
- Make it fun. Use games when a drill gets boring, so you actually keep showing up.
Frequently asked questions
How long does it take to learn to touch type?
Most people can type without looking within two to four weeks of daily practice, and reach a comfortable 40–50 WPM within a couple of months. The early days feel slow — that is normal and temporary. Push through it and the payoff lasts for the rest of your life.
Should I fix my old two-finger habit or start over?
Start over with proper technique from the lessons. It will feel slower than your old hunt-and-peck at first, but two-finger typing has a hard ceiling that touch typing does not. A week or two of feeling slow is a small price for doubling your long-term speed.
What is a good typing speed to aim for?
For everyday use, 40 WPM at high accuracy is comfortable and productive. 60–70 WPM is fast and very achievable with consistent practice. Check where you are now with a quick typing test and aim to beat your own score.
Is looking at the keyboard really that bad?
Yes, if you want to get faster. Every glance breaks the muscle memory you are building and keeps your eyes off the screen, where the actual text is. It is the number-one habit that keeps people slow, which is why the guided lessons are designed to keep your eyes up.
Where to go next
You have the full roadmap. Start with the lessons, build up through practice, measure yourself with the tests and keep it fun with the games — everything is gathered on the English typing page.
For deeper dives on specific parts of the journey, read our focused companion guides: English typing for beginners, how to improve your typing speed, and how to improve typing accuracy.